PART 1 - **NEW** PART 1.1 - PART 1.2 - PART 1.3 - PART 2 - PART 3 - PART 4 - PART 5 - PART 6 - PART 7 - PART 8 - PART 9 - PART 10 - PART 11 - PART 12 - PART 13 - PART 14 - PART 15 - PART 16 - PART 17 - PART 18 - PART 19 FINALE
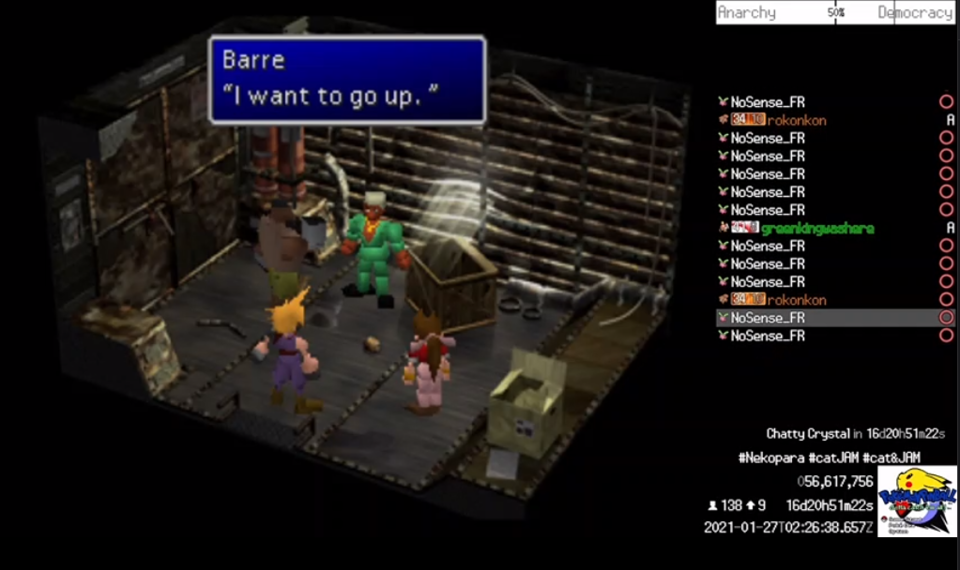
Chat has overcome the Corel Prison Dungeon and faces down the dreaded Chocobo Racing minigame. As with most minigames before it, it was clear our ability to accurately influence the outcome would be limited at best. Unlike most of our previous encounters though, this sequence could not be failed past. We needed to win first place or repeat the event. There is no hard fail on this sequence, and the race becomes easier each attempt. While there is a well known trick to restore the chocobo's stamina during the race, it required holding shoulder buttons, a difficult input for us to achieve and one that would prevent us from exerting much else control. Diplomacy was again likely too slow to make an impact. Our best chance seemed to be mash square for speed up, the occasional circle for boost, and pray. Chat prepares for the worst. This was just a matter of time really, but how much? Like so many other events in this run, we defy all expectations. We get it first try.
By now chat was feeling pretty confident. A lot of the expected painful roadblocks by this point had been overcome relatively swiftly. We were getting very accustomed to our unique method of playing the game, and how we needed to work together to get past difficult sections. It's a good time to quickly talk a bit more of the social aspect to all this. There's a criticism to be levelled at this run in that a lot of sections end up being 'driven' by one or two people, and that's fair to an extent. I think it ends up being a lot more nuanced than that, in my experience. For one, very rarely did anyone call out or chastise someone for errant but well intentioned inputs. The vast majority of people who came through wanted to play, and more importantly help. Besides a handful of very persistent trolls, chat was rallied behind the common goal. There's something to be said for getting a group of strangers to cooperate to get past a difficult thing. Sometimes you were just a passenger, but you could still provide feedback and ideas on chat's course of action. Personally, I tried at every available opportunity to get chat involved. I believed strongly in our collective effort, and there is a sequence we'll get to in Part 7 that highlights that extremely well, so stay tuned.
After defeating chocobo racing, the party receives their "sorry for falsely convicting you for murder" dune buggy from Dio and is finally unleashed to the relative safety of the world map once more. We first hit our PHS and boot Barret from the party. He's a decent character, but has almost no utility due to his terrible magic stats. The chat decides Tifa is criminally under represented in the run so far and goes with the classic girls once more. Obviously a quick and panicked save is performed. There's no break between the Dyne fight and the chocobo race, and we did NOT want to do those again. Next we briefly brave the materia exchange menu to retrieve our restore materia that has been shuffled out of the party. Tifa has been set up for a while and doesn't need much work, she's mostly going to just hit things anyway. Cloud is given cover materia at this point, he's by far the tankiest in the party and will be able to soak some hits while Aeris cleans up.
Setup complete, at around 53 hours we save once more and proceed with the plot. By comparison the in game timer shows about 37 hours, indicating we've lost about 30% of our time to deaths and resets. By now we're quickly approaching our original goal of steal tiny bronco, and rumblings are the run might be extended further. How much further isn't known, but we start considering that maybe chat can beat the whole game. Progress has been a lot faster than expected. We can do this, I get more certain of it by the day. Twitch can beat Final Fantasy 7.
Gongaga Ruined Reactor
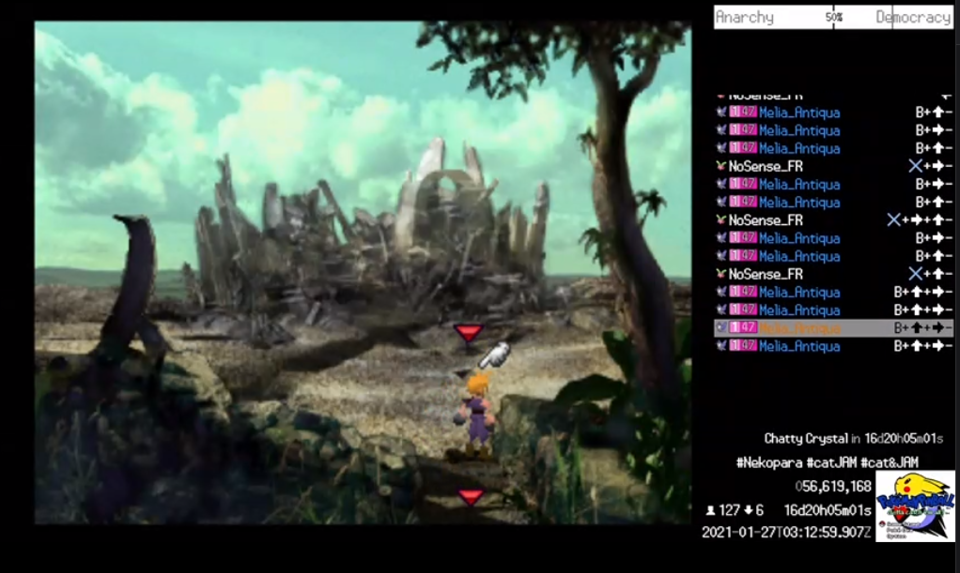
This spot isn't required right now, but we're here and it's not super difficult so chat decides to pop in. If we do play more of the game, we'll be required to come back here anyway, but there's some good loot available now. Murdering everything foolish enough to fight us has put us well over the expected level for this portion of the game and there's not much cause for concern. We park the buggy way too far away and proceed inside to the first Turks fight with both Reno and Rude. The Turks aren't a significant threat at this point, they don't even get boss music, poor guys. Reno has swapped his deadly pyramid attack for raw damage, so there's a lot less fear involved. The party is strong enough to mostly spam these guys down, focusing Reno will get Rude trapped in a heal cycle and we can out DPS them. A moment of panic occurs though when our Aeris carry gets dropped. Thankfully Reno goes down shortly after, and the Turks miniboss is complete without Aeris stealing the show for once.
We receive the Fairy Tale weapon from this fight, finally a decent upgrade for Aeris. She'll never hit as hard as the melee focused characters but you might be surprised at the numbers she can pull. She mostly suffers from being back row'd the whole game, a worthy tradeoff to extend her survivability. Technically at this point in the game we have access to Aeris's final limit, but it was never expected we'd even reach the point where she left the game, so no effort was wasted on it. Besides, Healing Wind is insanely overpowered, a beefy free party heal that is the big reason Aeris carried as hard as she did.
After a quick pop outside to save after the fight, we return to the town and finish cleaning up. Chat first heads to the ruined reactor and is treated to a short lore sequence involving Shinra executive Scarlett and Turks leader Tseng on their hunt for big materia. We retrieve the free summon Titan from the reactor after some slight menu difficulties. As we often learned throughout this run, FF7 likes to put the option you need to proceed as the second choice on the menu. This is surprisingly difficult to execute sometimes, especially if any amount of intentionally errant inputs are in chat.
I've purposefully avoided talking about the trolls in these recaps because I don't think they deserve a spotlight, but to reiterate, trolling was persistent throughout the run and would often pop up at very inopportune moments. The party died many times from this. To be clear, I'm not angry about it, really. Internet gonna internet, and it was just another challenge for chat to overcome and compensate for. It was mostly just an exercise in patience, costing chat time but not much else. As I told one of them once, we were gonna beat this game regardless, and trolls would be among the few who could not say they contributed. Onwards.
We pop into Gongaga Village proper for a quick plot dump, grabbing the deathblow materia on the way. It's here we start hearing about some Zack fella. Tifa, Aeris and Cloud are all varying levels of confused. I won't try to fully explain the plot of FF7 in these summaries, it's not nearly as bad as most people think and suffers mostly from a VERY poor translation, but regardless, the story of this game is well tread ground at this point. We don't bother to shop here, as the next area has a much better shopping opportunity.
The encounters between Gongaga and Cosmo can get pretty rough. Mobs here have petrify and frog song, a truly hateful combo. Fights could devolve into somewhat hilarious froggy slap battles. Outside of a full party petrify though it was not especially dangerous, just time consuming. We reach the interior of the canyon and as is becoming tradition park the buggy miles away. If you attempt to drive the buggy past Cosmo, it breaks down and becomes unusuable until the events there are complete. Chat didn't necessarily want to lock ourselves into this part of the map, the upcoming dungeon can get pretty dicey. Movement with the buggy was not really much faster than our traditional method anyway. Two steps at a time is still two steps at a time even in a vehicle.
Cosmo Canyon
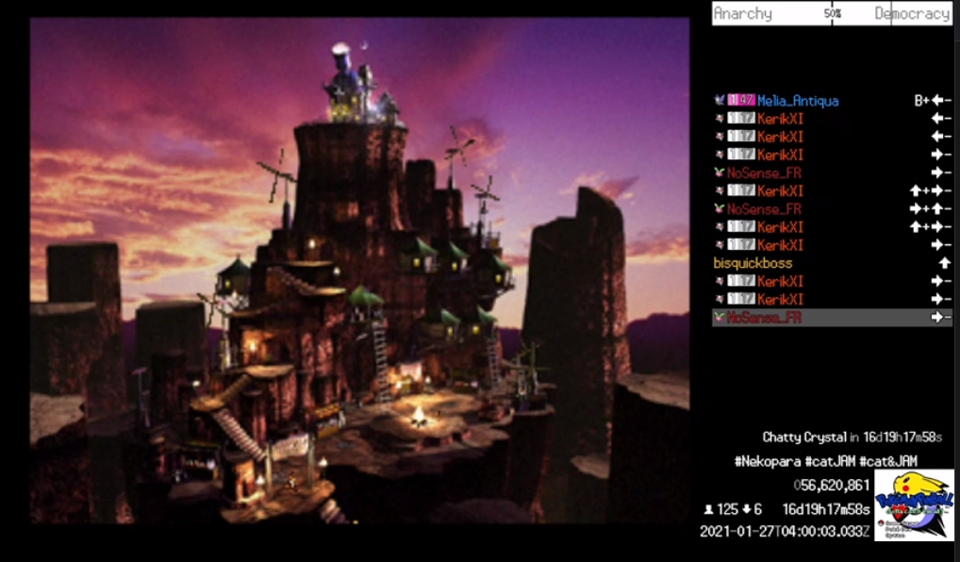
Chat has arrived at our next destination and story event, Cosmo Canyon. We have some lore work to do, and Cosmo is littered with confusing camera angles, lots of geometry to get stuck on and a fairly unintuitive layout. We'll be back here a bunch, but our first order of business is to get equipped and start thinking about the dungeon ahead. Red XIII will be forced into the party, and he hasn't been with us since Midgar. This presents a similar problem as Barret did, but at least Red doesn't have a solo fight ahead of him. The next boss is actually a pushover that can be exploited, it's reaching him and executing correctly that will prove tricky.
First, we must shop. Weapon and armor improvements are available for all our characters, so Cloud and Yuffie get new weapons and everyone gets a defensive upgrade. We're not quite rich enough to fully kit everyone, but it will do. Red isn't going to be a heavy hitting DPS for us now anyway, he'll mostly be carried until he is booted from the party again. Menus will have to wait until after the story progresses, as Cloud is solo without PHS access until the campfire event.
We stutter navigate all the way up to Bugen's loft and are told to form our party before proceeding. Back down we go. It's hard to properly convey how tedious and often frustrating movement like this can get. You have to time inputs so that you're not just running completely off in a random direction upon loading into a screen, but movement is so much faster when everyone can spam it. The more actions in the queue the quicker they are executed, but this can cut both ways, sending you flying in the wrong direction and wedged behind some foreground object. This is often why you see one person driving during delicate movement segments, as not only was it literally physically painful to repeatedly type changing movement inputs, the precision required to enter a door or catch a ladder could easily cost minutes. This run was often a test of endurance more than anything.
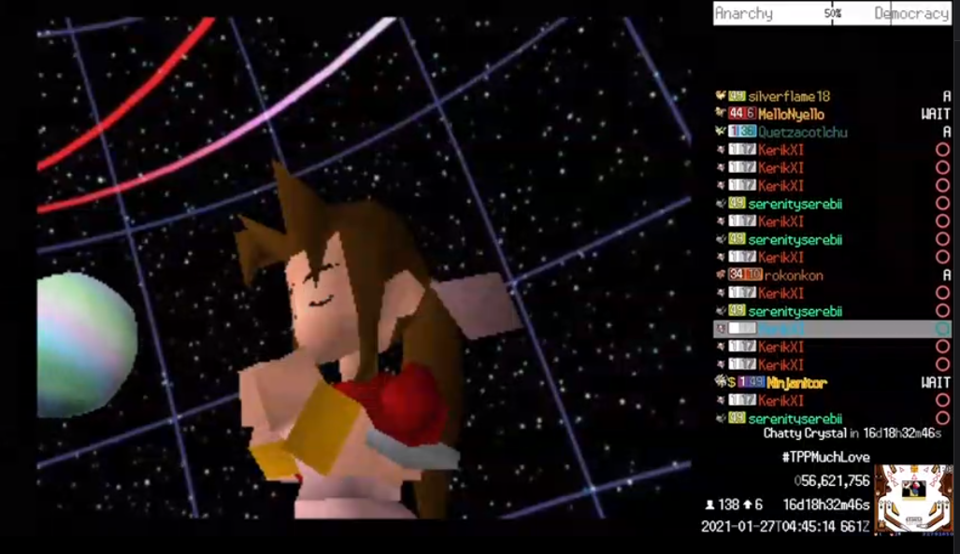
Chat gets back downstairs and reforms our party for the next big lore dump. Aeris is taken, naturally, and Tifa rounds out the crew, since we won't see any action this segment until Red is forced in anyway. Back upstairs once more for storytime and a planetarium show, before we can finally proceed to the campfire segment. Downstairs. If anything the plot chunks served as a much needed break for the hands. Spamming a pair of commands, once typed, was a simple as pressing up up enter, and anyone could do it. At least the theme here is awesome, which is good since we'll hear it a lot over the course of the game.
Finally, chat gets cozy story at the campfire and can form our proper party for the dungeon. The basic formula remains mostly unchanged. Aeris has always been in the party when possible, and is quickly becoming extremely powerful. If you didn't lose her when you do, she could solo the rest of the game. She's carrying most of our summon materia as well. While summons are of limited usefulness to us due to the menus involved, they provide significant boosts to her magical ability. Many people don't consider the stat changes when using materia, they are quite significant especially at low level. The tutorial did tell you that for a reason, yknow. Red is basically garbage, sadly. He's too middle of the road for our purposes, decent but not great at anything, and would require too much setup for his limited use. It's a shame, because he's a pretty cool character and his limits are alright. Oh well.
Cave of the Gi
The next dungeon is a threat. Just reaching the entrance from the save point requires navigating a hellish landscape of ladders and ropes to descend into the dungeon proper. There's some minor puzzles and a bit of a maze layout, but the enemies here are the problem. Once inside, there are traps littered throughout, and many encounters more threatening than the boss himself. Basic mobs here can cast stop, poison your party, even use death sentence. Chat struggled with the section for quite a while. Just reaching the boss was a significant challenge. It was around this time I finally fell asleep.
There's no opportunity to rest or save in this dungeon, it's straight to the boss and onwards, or die. We may be able to backtrack to Cosmo, but the time and encounters required did not make it feasible. Chat had to make it to the boss in decent enough shape to take him on. The boss himself is usually a bit of a joke due to a pretty well known trait. Gi Nattak is flagged as undead, and takes significant damage from restoring abilities and items. Phoenix down can instant kill him but potentially miss, elixir will always instantly kill him, but the menuing required is significant. He has two fire adds that mess up targeting, especially because they disappear and reappear throughout the fight. We only needed one shot, but executing the inputs in the proper sequence quickly enough is always the key. The item menu in particular is a bit of a nightmare, because it hadn't really been sorted all game, requiring a lot of thumbing through pages and missclicks.
These were quieter hours, and the most experienced chat members were away. But this presented an excellent opportunity for chat to pull together on a difficult challenge mostly unguided. While it's clearly true that me and Melia did a lot of driving, we were still human beings that needed things like food, adulting responsibilities, and occasionally sleep. I loved the range of experiences and participation we got during this run. For many it was their first time playing, or they had perhaps only played once years ago. Many of the harder tasks in this run were accomplished without our involvement at all, including this one. The game really starts taking the kiddy wheels off around now. I don't know if I've said as much yet, but the moments I enjoyed the most this run were the ones I was barely involved in.
Chat makes the excellent decision to manually sort the item menu to place Phoenix Downs at the top. It looks like we've lost our elixir along the way, xpotions would also work, but the menu is such a mess nobody wants to really brave it right now. Spamming phoenix downs will do the trick, assuming we don't run out of them along the way. We haven't really bought more since Costa, and the many deaths to encounters before the boss was eating through the remaining supply quickly. There's also the risk of losing them to menu failures, tossing a down on a living character during combat. The game lets you do this because of the undead status mentioned before, but wasteful mistakes would be costly. There's an elixir down here, but we have to go off path to get it, eating more resources and time. After nearly five hours in this dungeon, the boss was down'd to death, and we get our extremely depressing revelation scene with Red.
That's gonna do it for this update. We've reached roughly the 60 hour mark, little over a third of the way into the full run. Next time, we carry onwards to Nibelheim, confront the safe, and proceed to our original objective: stealing the tiny bronco at Rocket Town. But we aren't stopping there are we? Thanks for reading!
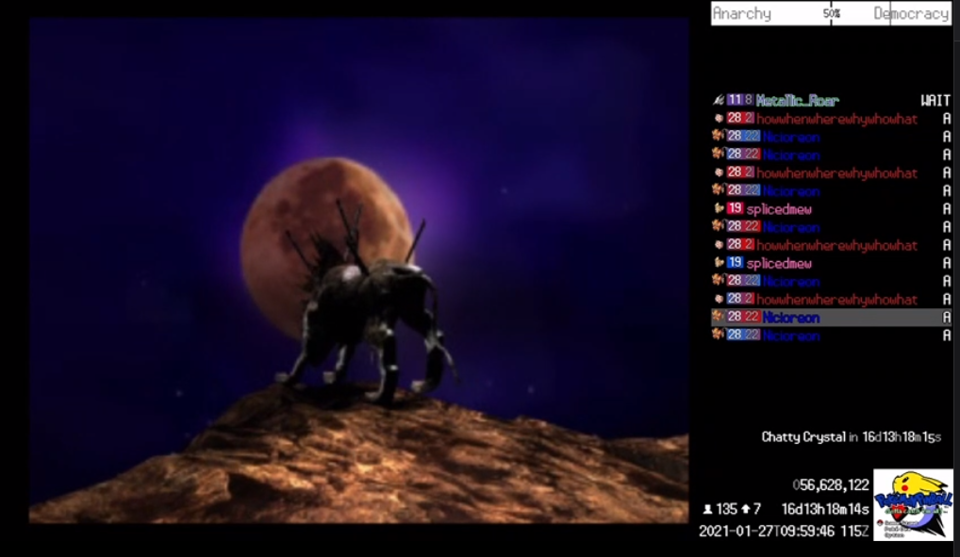
Awooos in chat. :(
PART 1 - **NEW** PART 1.1 - PART 1.2 - PART 1.3 - PART 2 - PART 3 - PART 4 - PART 5 - PART 6 - PART 7 - PART 8 - PART 9 - PART 10 - PART 11 - PART 12 - PART 13 - PART 14 - PART 15 - PART 16 - PART 17 - PART 18 - PART 19 FINALE
Log in to comment