
PART 1 - **NEW** PART 1.1 - PART 1.2 - PART 1.3 - PART 2 - PART 3 - PART 4 - PART 5 - PART 6 - PART 7 - PART 8 - PART 9 - PART 10 - PART 11 - PART 12 - PART 13 - PART 14 - PART 15 - PART 16 - PART 17 - PART 18 - PART 19 FINALE
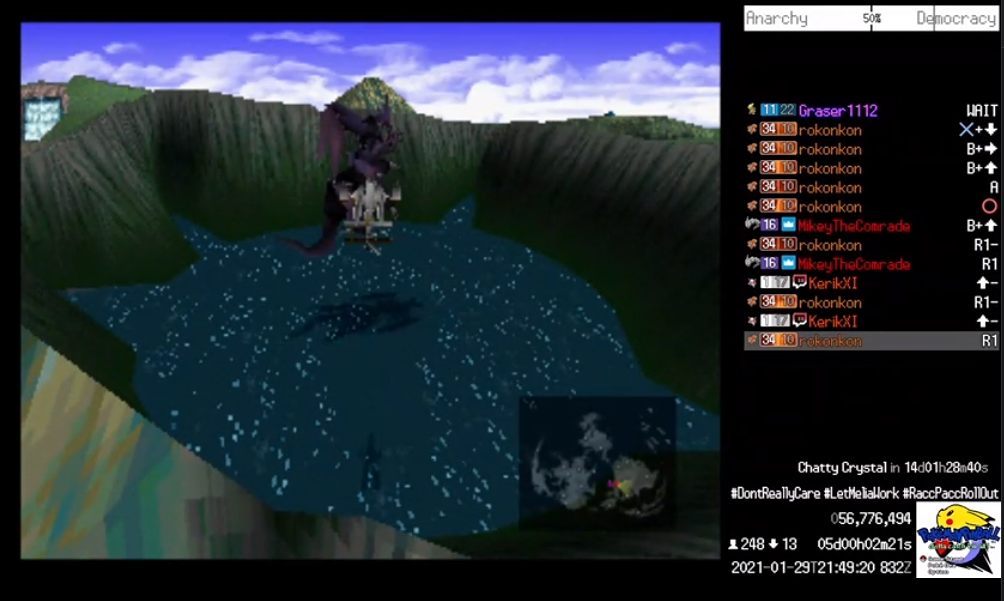
Chat is almost completely out of things to do before tackling the climactic sequence of the second disc and the much anticipated final swap. There is one challenge left we can somewhat reasonably attempt though, so we might as well give it a crack before proceeding. Ultimate Weapon has been patiently chilling in his landing zone near Junon for quite some time now, and while the boss itself is not a significant threat, what comes after is. Every time you engage the Weapon, after a few turns he will retreat and begin roaming the world map. He must be rammed with the airship a handful of times before he will proceed to one of his stopping points for another round of fighting. Ultimate has 100,000 HP total, and his health persists between battles including the very first Mideel encounter. Once he reaches 20,000 health he will stop fleeing and proceed directly to Cosmo Canyon for the final showdown.
Catching Ultimate is a harrowing task for chat and has been feared for some time. Even with the airship our movement speed is anemic at best, and the delayed reaction time means even if Ultimate can be located, actually having the coordination to collide with him would prove exceedingly challenging. He's difficult to keep track of once found, changing directions and zipping around completely at random. Even with turbo it would come down to pure RNG and unless we could dramatically boost our damage output the event would likely take multiple rounds to complete. A valiant effort is made employing various suggested strategies, but even once the roaming Weapon is spotted, chat is unable to input precisely enough to ram him before he disappears again over the horizon. It quickly becomes clear the time necessary to do this would be truly staggering, easily exceeding any prior roadblock.

There is another option available though. If we can bring Ultimate to 20,000 in the first encounter before he runs, he will proceed directly to Cosmo, skipping the chase sequence entirely. The decision is made to intentionally wipe and keep this strategy in our back pocket. We can't pull those kind of damage numbers yet, but if we're going to take on the other Weapons we'll eventually have to reach similar heights anyway. Ultimate gets to sit in his crater a little while longer and with no other appealing options remaining, chat prepares to leap into the dramatic final act of disc 2.
Midgar Raid
Hojo was never the most stable individual but this time he's truly gone and done it, ignoring the desperate pleas from the surviving Shinra employees and dangerously overclocking Midgar's mako reactors, threatening to destroy the city just for his chance to see Sephiroth's so called Promised Land. Removing Midgar from the planet might overall be a net positive, but the party decides to intervene anyway. Cid's awesome theme song propelling us, chat air drops into the penultimate dungeon of the game, intent to finally put a stop to Hojo's madness.
This sequence is the first time since leaving that we have returned to Midgar. You can dig up a key at Bone Village that will grant access to the lower slums again, but this is the only opportunity to revisit Shinra's headquarters, and some items there are only available now. However, it's a significant departure from the critical path and the navigation required would be intensive, so the decision is made early to just skip it entirely. Nothing in the tower is extremely useful to us now, and we already have one painful detour to make that is much more worthwhile. This is another movement intensive section of the run, but by now many in chat have become skilled operators, quickly deciphering the necessary directions and inputs. There exists a significant learning curve to practically everything in this run and that discovery process didn't truly end until the credits rolled.

Chat proceeds through the twisting maze of pipes and ladders beneath the plate of Sector 8, emerging into the subway tunnels. It's here the best item in the game awaits, the incredibly broken w-item materia. Seemingly innocent, this materia allows for using two items at once in a single battle turn. However it unlocks an extremely powerful and well known glitch allowing the easy duplication of any item usable in battle, and with some delicate work can be used to duplicate almost anything in the game. If missed here, it can be dug up at Bone Village, but the terror of ladderboss still lurks within chat's hearts and this is a scenario to be avoided at all costs.
The trip through the tunnels to this treasure is incredibly long with random encounters the whole route. Several of your crew are positioned on the way to intentionally mislead, insisting the actual objective is behind you. Fortunately most of the movement required in this section can be spammed with little adjustment, so while tedious it's not especially painful. The save point next to our prize is a cruel developer joke. There's an opportunity to save immediately before entering the tunnels that can be backtracked to, so saving here now just threatens another extremely lengthy run. Over a half hour of jogging later, chat have defeated hallway boss and retreated to the pre tunnel checkpoint, finally able to progress the main event.

None of the enemies in this segment are especially difficult but we do have a boss gauntlet quickly approaching, beginning with our final encounter against the Turks. They might have lost their boss music but the full crew is here to stand in chat's way one last time. The Turks have been leveling up by grinding encounters with us and finally represent a reasonable threat. Yuffie is dropped early on in the fight and Vince has lost his fury somewhere along the way, so Cloud is left to prove why he's categorically the best character in the game and handles the bulk of the work.
Chat proceeds out of the tunnels and is immediately greeted by the next boss on the list, piloted by two thirds of the remaining Shinra executive branch. Proud Clod can be a deceptively dangerous fight. While most of the boss attacks are pitifully weak, his beam cannon can be somewhat deadly to the unprepared. There's so much wind up involved in the attack though there's no real threat with any amount of caution taken. It's likely intentional that Scarlett and Heidegger's knockoff gundam is a bit of a joke, and the fight presents no real difficulty here.
Before ascending to the final encounter, Barret is briefly brought along so he can grab his ultimate weapon from the staircase. The chest containing it will not appear unless he's in the party, and while it's unlikely Barret will ever really be used at this point, there's no point leaving it behind and it never hurts to have options. Once the treasure is retrieved he is subsequently benched and the standard crew continues onward. The mystile is also acquired in this area and given to Cloud, it's the best armor in the game with almost broken evasion, so with that and the weapon upgrade dropped in the previous fight our main hero is quickly becoming nearly unstoppable. Saved and prepared, chat can now confront the cackling jerk himself.
The Hojo fight is the only real threat of this section. The boss consists of three seperate phases as his ill advised Jenova cell injections further distort and mutate the mad scientist's form. His first incarnation grants him two minions he can revive at will, much like the fight chat struggled with against his experiment way back in Shinra tower. While the lackeys are easily dispatched, Hojo will quickly revive them and the fight will effectively stall until enough direct damage is done to the boss to push him into the next phase. Memory cursor has been used to great effect all run but does not apply to targeting, so each attack needs to be manually directed, adding some slight complexity to this first segment. Chat pushes past a minor menu boss and is able to just spam the rest of the fight down with Cloud. Double cut is doing some serious work at this point.
With that, we have officially ended all Shinra employees we are aware of and destroyed the company providing most of this world's electricity, probably plunging society into a dark age. The crew have retreated to the airship, one final goal before them. It's time to take out Sephiroth, but before that Cloud wants to make sure everyone is in the fight for the right reasons and dismisses the party, only to come back once they're internally prepared for the final confrontation. Tifa and Cloud have nowhere to go though, and instead share some heavily implied moments together just outside the moored airship. If nobody else happens to return, hopefully somebody showed them how to fly the thing.
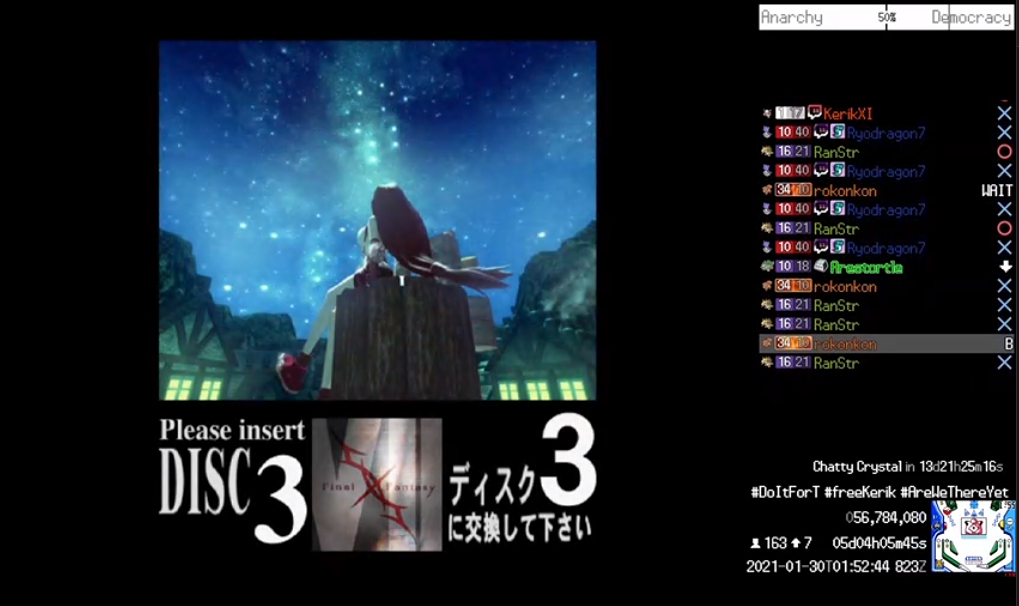
The whole motley crew dramatically rejoins and we're treated to one last cutscene of the Highwind undergoing what is honestly a completely unnecessary transformation into an even faster airship before the developers can't fit any more movies on the disc and the final swap has arrived. After 124 straight hours of play, chat has officially reached the end of the game. There is only one dungeon left between us and credits, but not every challenge stands complete. It's not enough to simply beat the game anymore. We must dominate it, crush it. Chat will leave no summit unreached. Two superbosses must die, and so the lengthy preparations begin, assuming chat can avoid gambling until the world ends. Thanks for reading!
PART 1 - **NEW** PART 1.1 - PART 1.2 - PART 1.3 - PART 2 - PART 3 - PART 4 - PART 5 - PART 6 - PART 7 - PART 8 - PART 9 - PART 10 - PART 11 - PART 12 - PART 13 - PART 14 - PART 15 - PART 16 - PART 17 - PART 18 - PART 19 FINALE
Log in to comment